Hi! Jodie here! I thought I'd share some images and a bit of an overview of how we produce our screen prints. We have a bit of a DIY set up at home, which isn't perfect but it means it's accessable, which is the main thing!
I love printing, it's very satisfying to produce a stack of crisp images. It's also quite frustrating when it goes wrong! I lost my confidence a bit recently and have been relying on ordering in RISO prints of our art, which I love, but I really do want to persevere with producing screen prints too. I have also found the work/life/mum juggle really hard the past couple of years, so it takes me several stages to produce a screen print, so the following steps may be split up into a task a day, and a day a week, if I'm feeling productive!
The technical bit!
First of all we coat a screen with photo sensitive emulsion. You can buy a special trough to do this but we use a large squeegee. The coated screen goes in our cupboard under the stairs to dry off and away from light.
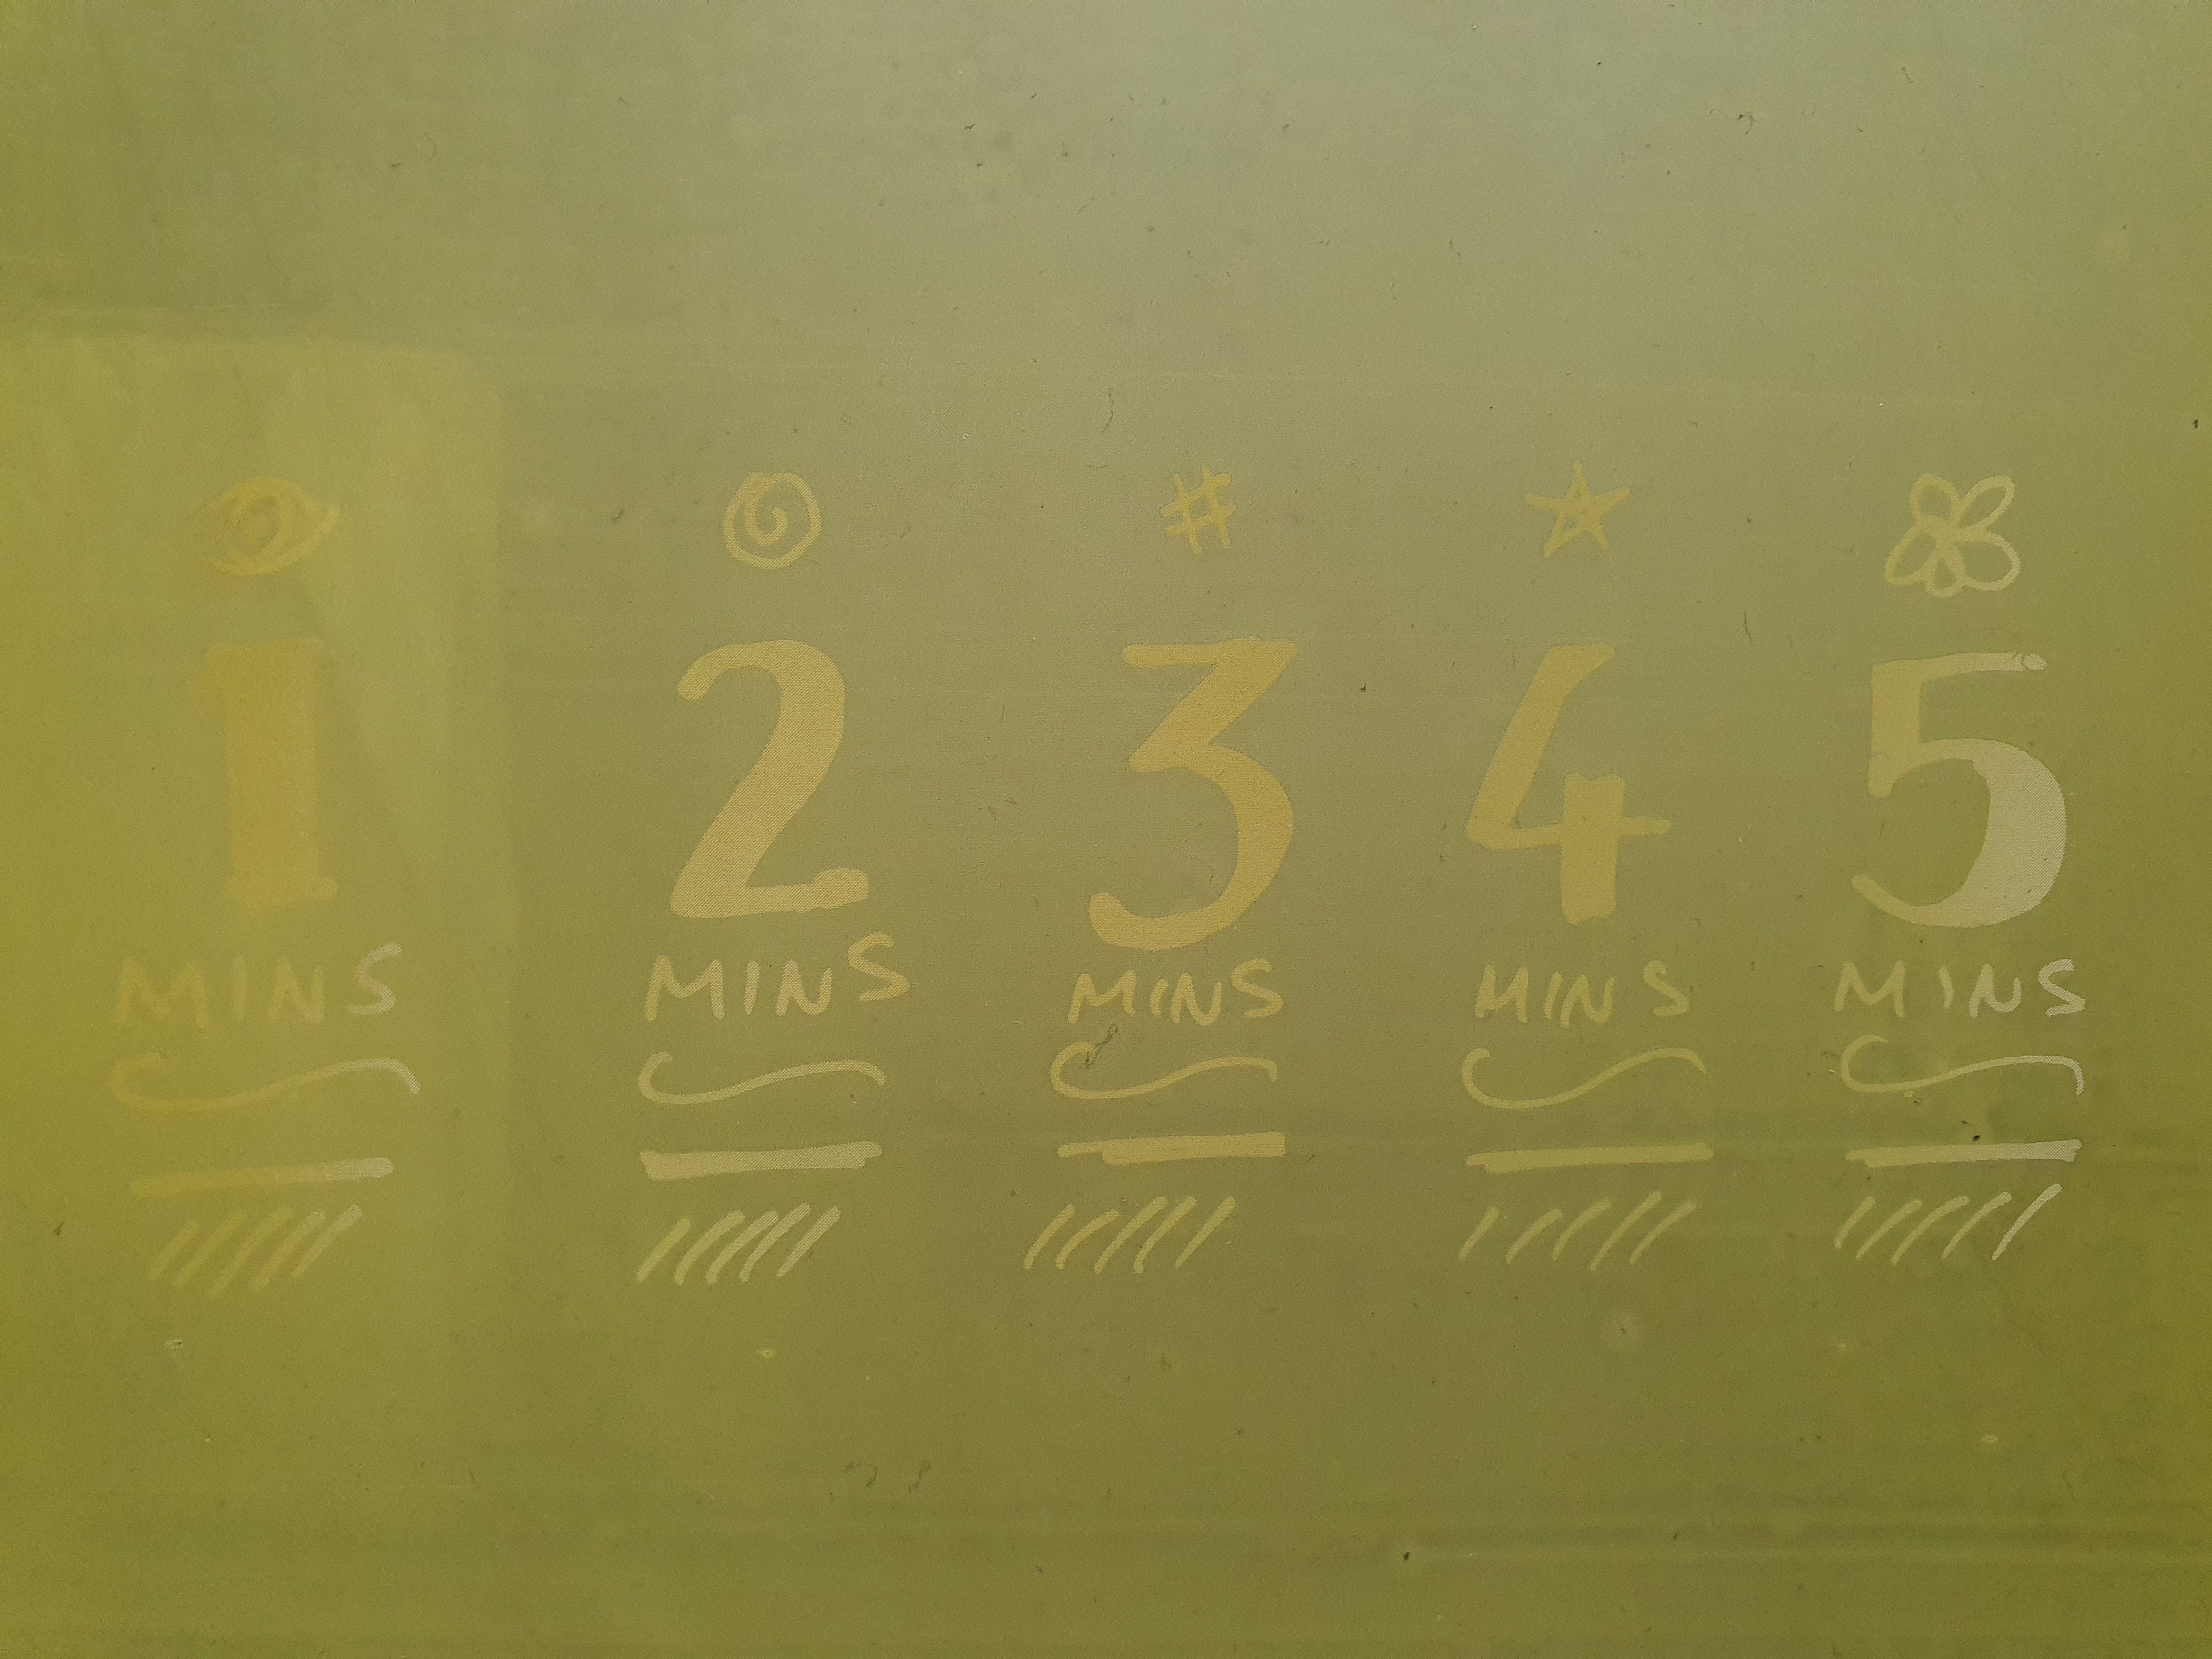
David buit us a exposure unit which is also set up under the stairs. He attached a couple of security lights to a plank of wood, which is hung up over a small coffee / side table so that the light is directed onto the screens below. We use a tester panel to work out how long the exposure will need to be (photo above). Then the design, which is a positive image on acetate, is exposed onto the screen. The positive image blocks the light from the emulsion so that it is washed away, the parts exposed to light are set into the mesh leaving a stencil on the screen. We have also created paper stencils before, which are fine for small runs but the paper stencil can break down after about 20 or so prints. It's also hard to get detail with paper cut stencils.

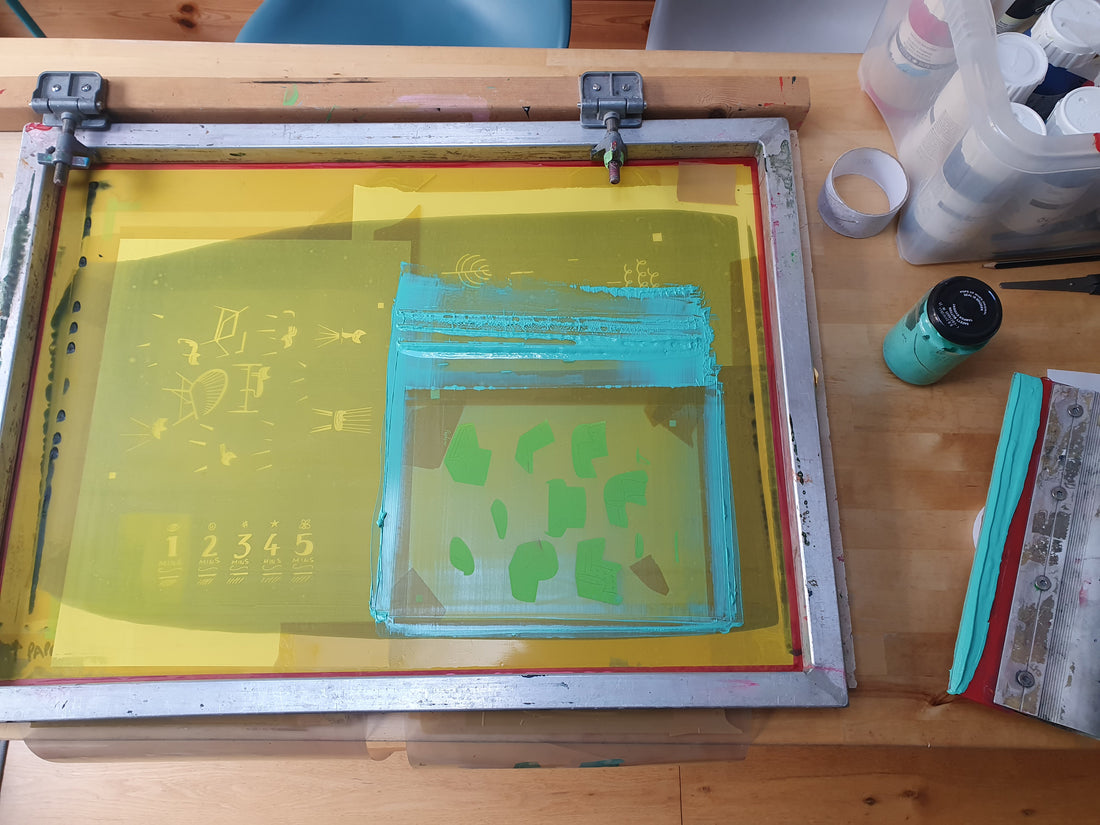
Now you can print! We have a large piece of laminated wood with 2 hinge clamps attached as a print bed, the screen frame clamps into this so you can lift it up and down and stop things from moving around (photo above). We put this 'bed' on the kitchen table. We use a clear plastic sheet called true grain for registration, sometimes the paper has to be registered each print pass, other times we use card markers stuck to the bed to butt the paper up against to register the print. We use acrylic paint with a system 3 print medium in, this stops the paint drying out too quickly. We have a home made drying rack which is a washing line with wooden pegs threaded on, which have been drilled so that the paper can hang flat.
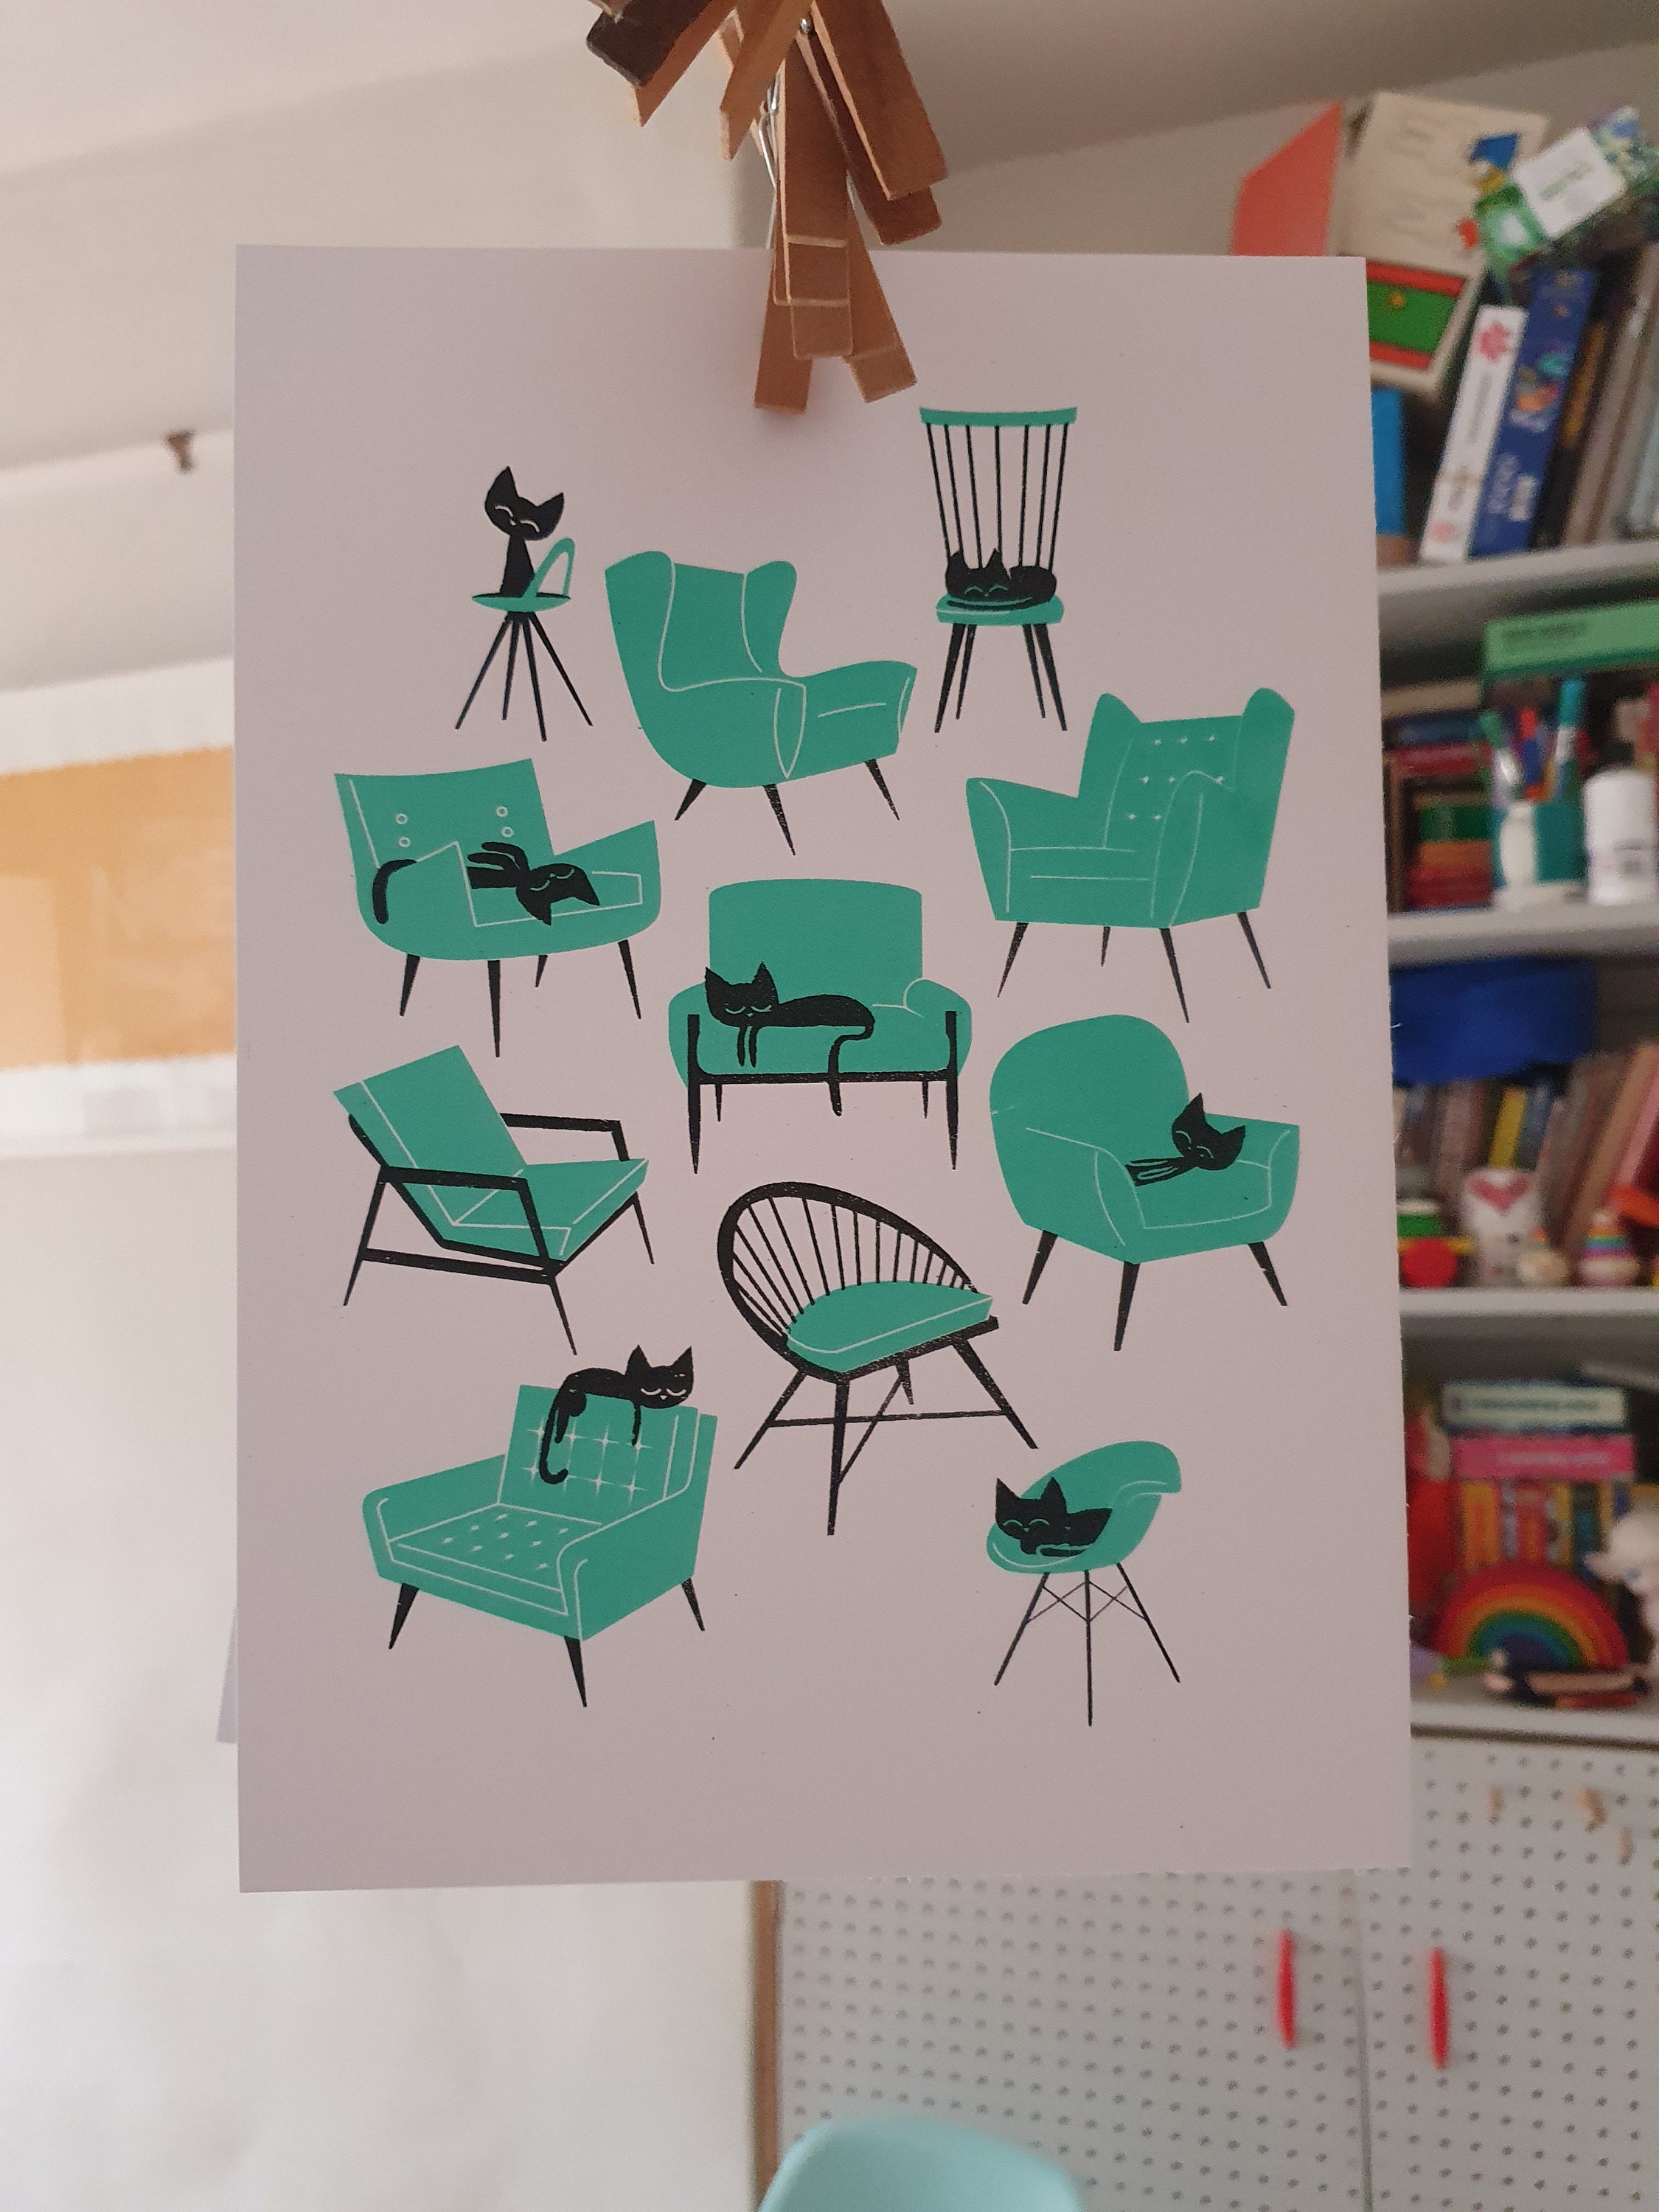
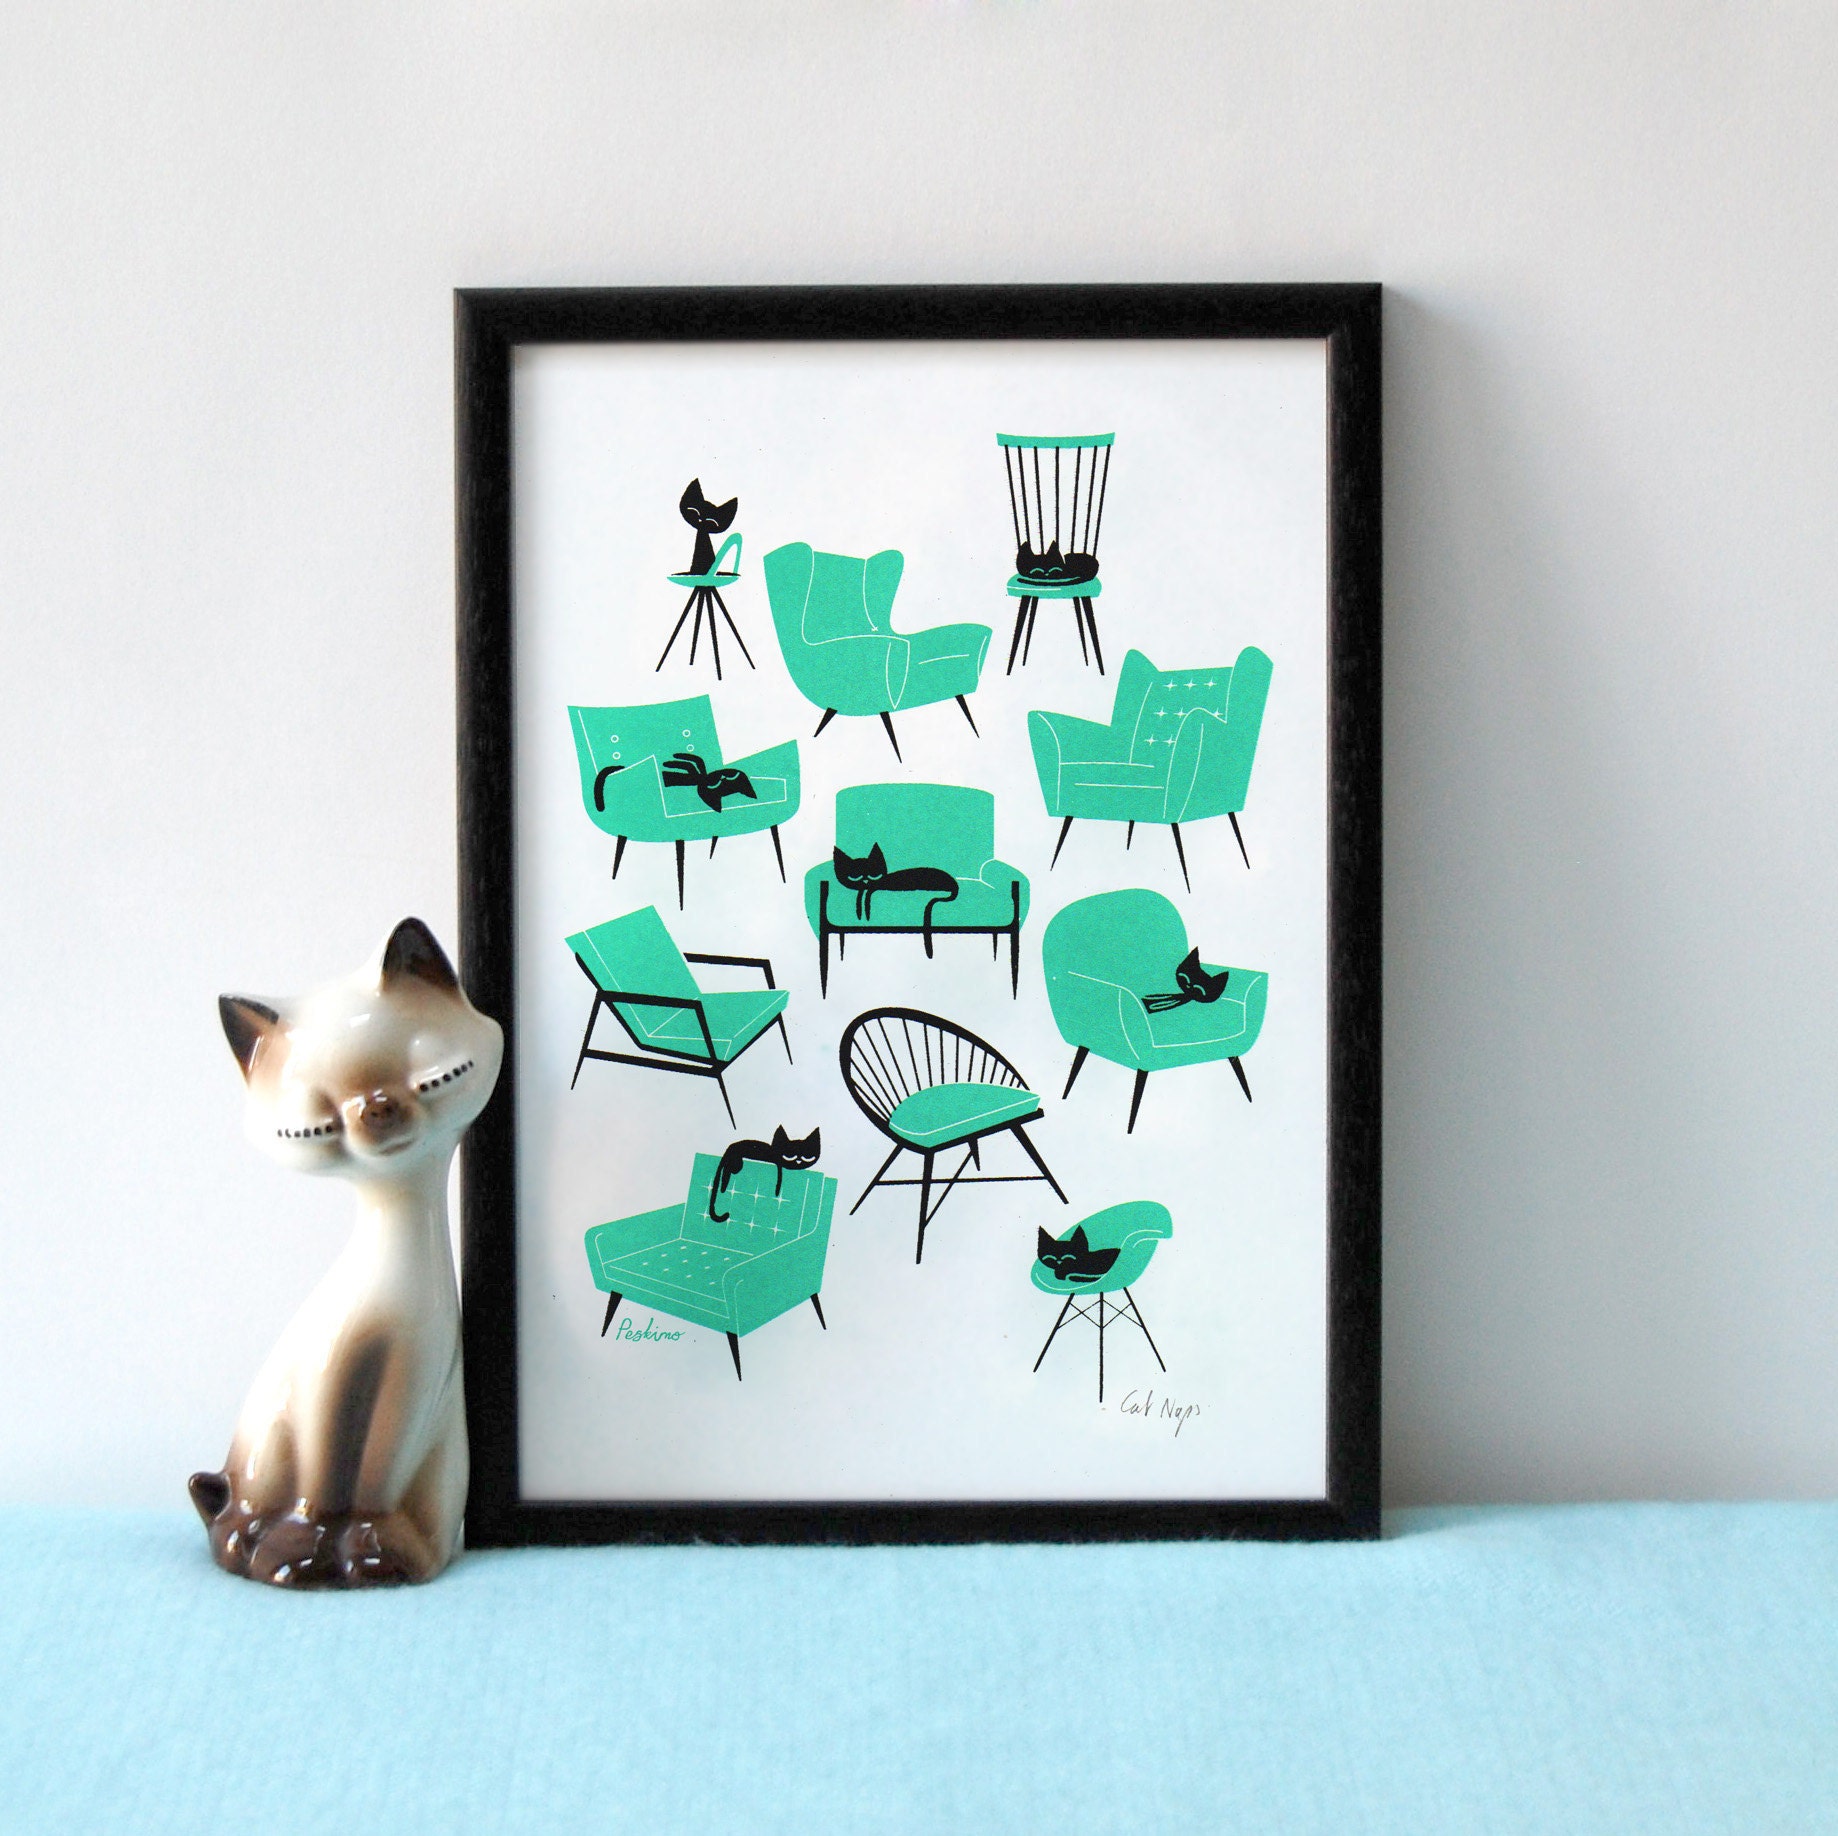
And thats about it really! Hopefully the photos help illustrate the steps above. If you have any questions please do ask away! Thanks, Jodie :)